Monthly Archives: October 2009

A Different Way to Trick-or-Treat

Happy Halloween!!

The other day I remembered a slightly different way we used to trick-or-treat in our neighborhood that we thought was fun.  It sounds confusing, but trust me, it works!  One year a friend invited my kids and me to come do this "special trick-or-treating" over on her side of the neighborhood.  After that, another friend and I started organizing it over on our side of the neighborhood.  The point was as a parent you knew whose houses you were going to so it was safe and if you wanted to you could give out maybe a little better candy treat to the kids since you knew how many to expect.  We would do this on the Sunday night before Halloween, so it really was kind of an extra trick-or-treating event!  But some people were going to parties on Halloween night so their kids would normally not get to go door-to-door for candy.

This has to be organized ahead of time.  You find out what neighbors want to participate and it has to be in a reasonable walking distance.  If somebody from way out of the walking range wants to participate, they just have to start from someone's house who is "on the route".  The organizer plans the route to take to hit everyone's houses and approximately what time the group would arrive.

This is how it works:  My kids and I leave our house at the appointed time, say 6:30 pm.  We go next door.  That neighbor gives my kids candy, locks her house, and she and her child come with us.  We all go across the street to that neighbor….she gives candy to my kids and my next door neighbor's child, they join us, and we all go to the next house down the street.  That neighbor gives out candy to all of us, and comes along with all of us as we go to the next house.  (I know it sounds like somebody isn't going to get candy, but keep following me!)  Let's say there are 10 families on the list.  We get to the tenth house.  That mom gives out candy to all the kids who are now in the group, locks her house and joins us.  NOW since we have finished picking everybody up, we all go back to MY house which was the starting point.  Now I haven't given out candy to anybody since we were the first family.  So when we get to my house, I go inside, get the candy and give it out to all the kids in the group (which at that point is everybody).  Now my kids and I stay home…we're done.  The group continues on to my next door neighbor (second on the list).  She has only given candy to my kids when we started, but now my kids have stayed home and when the groups goes to her house, she gives out candy to everybody and she stays home.  Then the whole group goes across the street and that neighbor gives out candy to everybody and she stays home with her kids.  It continues on that way until the last family gets home (who had already given out candy to everybody when we first arrived). So all the kids do get the same amount of candy, from everybody, and it is a fun night out!  Just a little difficult perhaps to keep the kids from running ahead of the leader!  One year we had a police helicopter hovering above probably trying to figure out what this big group of kids and adults were doing….or maybe they were just enjoying the Halloween sight!

Just a slightly different way to trick-or-treat in an organized fashion if that works for you!

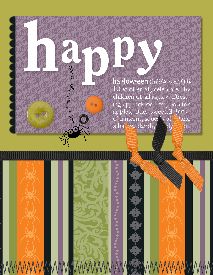
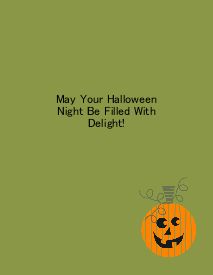
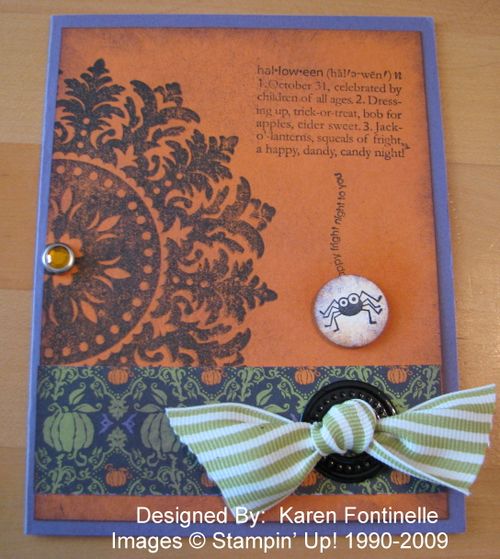
And now here is a Halloween card I made on the new My Digital Studio!!  I just used one of the templates and then changed it up a little! What fun!

Halloweencard-001 Halloweencard-003 

Images © Stampin’ Up! 1990-2009
Happy Birthday to My Wushu Kid!

Wushu-001 

Last weekend we got to go to Austin to visit our boys, although one was sick so we only saw him as we dropped off an order of chicken soup from the restaurant where we had dinner!  We were lucky to be there in time to see our son, Steven, do his Wushu demo for a campus club.  This is just the "Demo Team", a group chosen for their skills and dedication to the practice and the sport.  The kids were all amazing in their skills, and the audience, who had been milling around, talking, and eating, all stopped to gather and give the Wushu team their full attention.  Wushu is Chinese martial arts like you might have seen in the move "Crouching Tiger, Hidden Dragon".

Since I was learning how to make an "interactive album" with the new Stampin' Up! My Digital Studio, I decided to try making an album using my Wushu photos and video.  I don't think the video will play on this post, which is a good thing since I probably need to edit it first, but this is a page I made with My Digital Studio. After designing the page, I embedded? one of my video segments into the photo.  I can burn it to a DVD or I can email it to my son and the video(s) will automatically play on each  of the pages as they are viewed!  It was an amazingly easy project to work on, for being so "technical", what with including video!  Now I need to go finish up the album and email it to him for a birthday gift today!

There are SO many things you can do with My Digital Studio!  You really need to check it out!!

Pumpkin Poop Treat

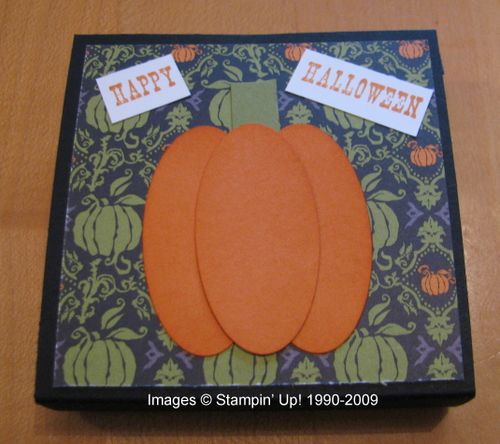
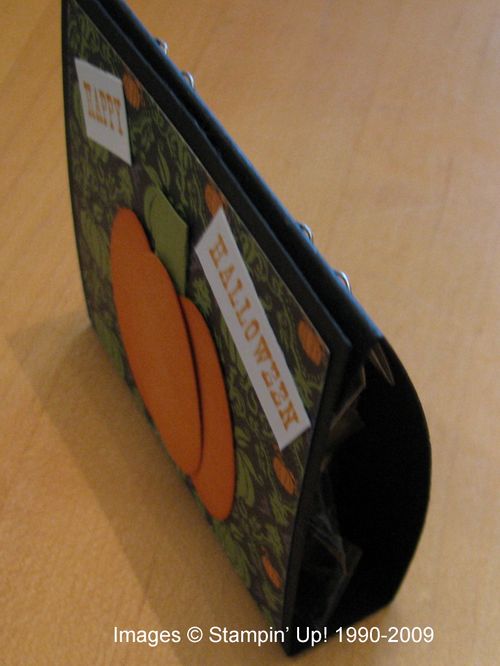
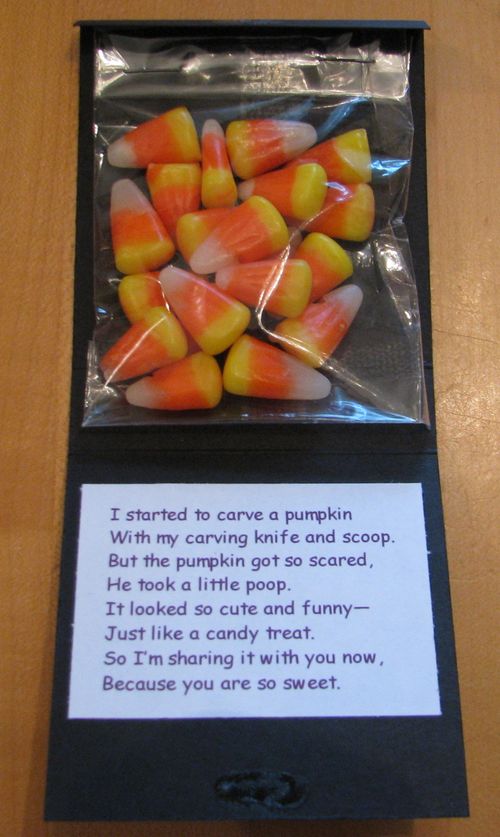
Normally I don't go too much for the little "poop" treats that you often see around holiday time, but this Halloween one going around on many stamping sites kind of caught my eye.  Some were made into little boxes, but I made mine just kind of a foldover thing.  You can see it from the side in the second photo.

PumpkinPoop 

PumpkinPoopside 

The black card stock is 3 1/4" x 7 1/4", scored at 1/2", 3 1/2", and 4 1/4".  On the front I used a small piece of Cast-A-Spell Designer Series Paper and made my pumpkin from three oval punches, sponged a little on the sides.  The candy corn is in a little Stampin' Up! cello bag, stapled to the back, although you could also just use SNAIL.  To keep the holder closed, I put a dab of Tombow Multipurpose Adhesive on the two ends and let dry.  Now it is a temporary adhesive that I can open and close carefully.  You could also punch some holes and use ribbon.  The sentiment is from "All Holidays" stamp set.

PumpkinPoopinside 

I wish October were just starting so I had more time for making Halloween gifts and treats!

My Digital Studio Card

While I have owned My Digital Studio since it first was available, I haven't been as quick as others to whip out projects in ten minutes!  We were out of town for ten days and of course it took probably at least a week to catch up on things at home after returning.  Since I'm not one to just "get in there and play" with the software, I have been listening to and watching the training webinars Stampin' Up! has been providing for demonstrators.  So while I have been "playing" with My Digital Studio, I also found it valuable to follow some of the training provided.  Now that our big trip to New England is long over plus another weekend trip, I've been finding more time to enjoy My Digital Studio.  Click HERE for more information.

My Digital Studio provides designer templates that you can use as is, adding your own photos for a photo album or other project, or adding your own embellishments, etc.  

Here is the greeting card template I started with:

                                              My Project 8-001 


(I added the black border in my blog as the card is white and it wasn't showing up!)

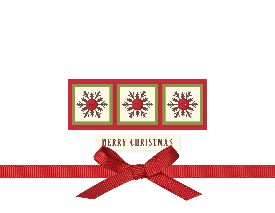
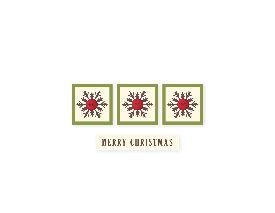
And now here is my own version:

                                               XmasCardCertif-001 

As you can see, I added some digital red grosgrain ribbon and a bow and a digital layer of Real Red card stock behind the snowflakes.  I'm having it printed by the Stampin' Up! professional printer.  

Last night I was really going to town working on a multimedia photo album but had to stop to go to bed!  It is so much fun to discover what all is included in this program….and there already are some new downloads!  Let me know if you have any questions if you are considering purchasing My Digital Studio!

It All Started with Teddy Roosevelt and a Bear!


Theodore Roosevelt, the 26th President of the United States, was born on this date in 1858.  In 1902, Roosevelt was helping settle a border dispute between Louisiana and Mississippi and during his free time he went hunting with his aides and some reporters.  As he was not having any luck in hunting, his aides found him a bear, but he refused to shoot it.  A cartoonist for the Washington Post drew a cartoon of the incident, first drawing a fierce bear but later changing it to a cuddly bear.  A store owner in Brooklyn, Morris Michtom, sent a toy bear that his wife had made to Roosevelt, asking if he could name it "Teddy's Bear".  The new toys became very popular and the teddy bear craze began.

If you want to celebrate the teddy bear, you need to shop at Stampin' Up! for the Build-A-Bear Workshop Collection!  You'll have so much fun creating your own Build-A-Bear projects, cards, and scrapbook pages!  In fact, you can create your own bear right on this link!  You can click and drag on various clothing and accessories on the bear, even dress him for Halloween!  Go check it out!

Last of the “Deals of the Week” for October!

Here are the final Deals of the Week for October!  Have a little princess or pirate in your house?  You'll need these party kits for sure!  If you don't have a party coming up soon, I think they would be fun for just a craft project for the children!  See pages 174-5 in the Stampin' Up! Idea Book & Catalog for more information!

Week 4 Deals of the Week

Item 

Description

Special Price

116214 

Princess Party Kit 

$9.99

116213 

Pirate Party Kit

$9.99

Be sure to contact me before October 31, 11:50 PM (MT)


Another My Digital Studio Page

New England Fall Trip 2009-003 

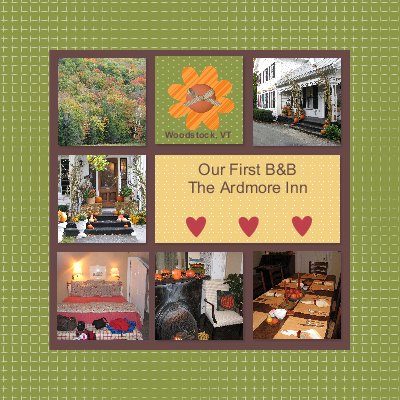
Here's another page I made for my album with My Digital Studio as I am learning to use it.  This would have been a baby  scrapbook page if I had just inserted baby photos into the designer template….but you can take any page and make it your own or even start with a blank canvas.

Don't forget about the special Hostess Offer from Stampin' Up!…..through November 30, get My Digital Studio 50% off with a $400 workshop!

My Digital Studio

I've started making a digital photo album of some of my New England vacation photos in My Digital Studio.  You can do so many things with this new program from Stampin' Up!.  It isn't limited to just scrapbook pages or albums or calendars, although you can make all those things.  And if you submit your project to the official Stampin' Up! printer, you can be assured that your colors will be true to the Stampin' Up! colors.

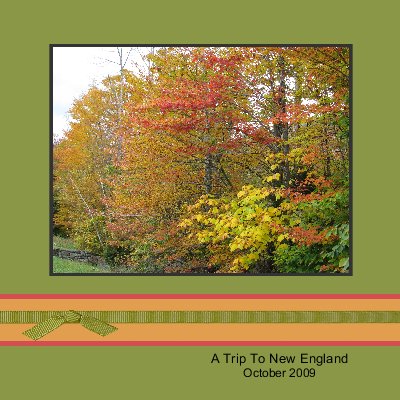
Here is what might be my cover page.  I can always go back and change and work on my project.  Would you believe the design began as a baby album but I'm changing it to work for my trip pictures!

New England Fall Trip 2009-001 

Click here to read more about My Digital Studio!

Packaging is Everything!

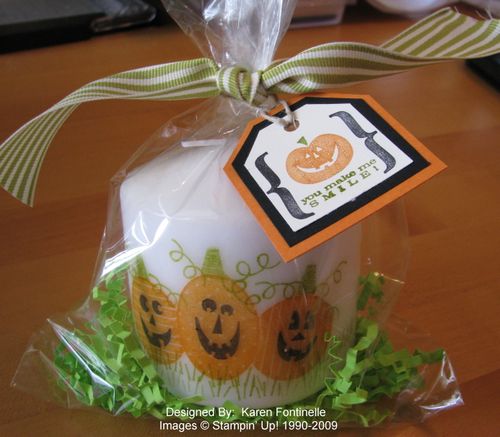
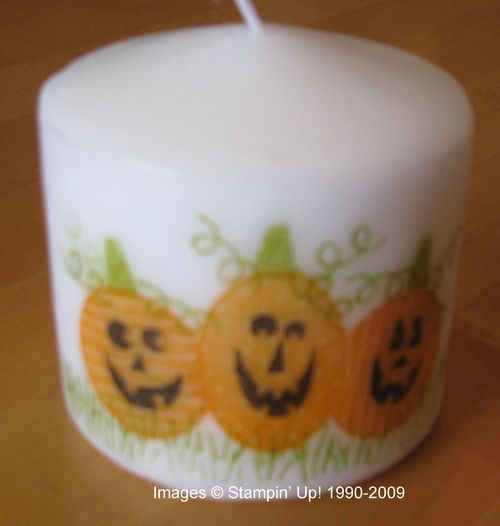
While I thought the Halloween candle I made yesterday was very cute and Halloweeny, I was giving it to someone for a little gift and I thought just handing it to her made it look a little blah.  I just stuck it in a Stampin' Up! Cellophane Bag, tied some beautiful 1 1/4" Striped  Old Olive Grosgrain Ribbon around and made a little tag with the stamp set Eat, Drink & Be Scary.  I punched a hole in the tag with my Crop-a-Dile and attached the tag with some Natural Hemp Twine.  Probably took just 5 minutes and the gift went from good to great!

You can find all these Stampin' Up! supplies in my online store HERE

Candlewrapped

Halloween Stamped Candle

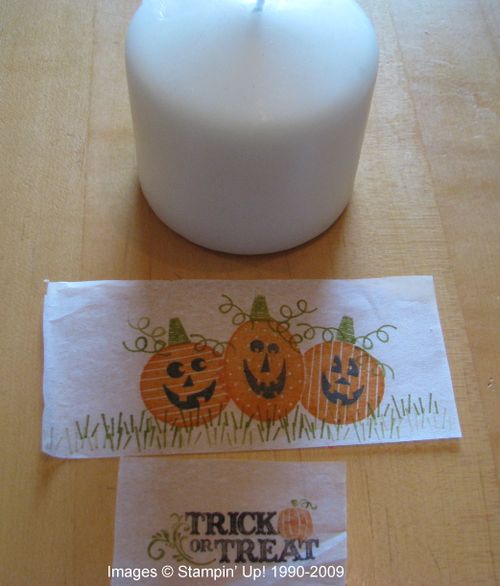
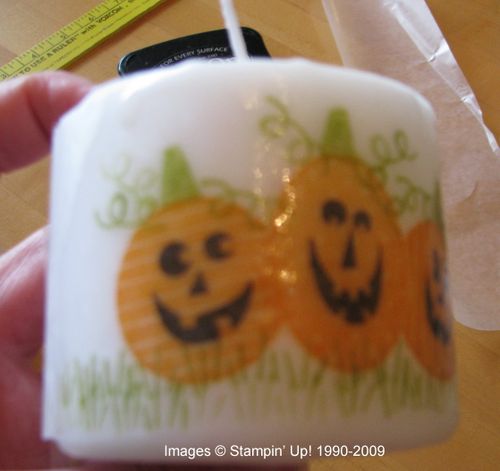
After getting out my Halloween decorations yesterday and some candles, I remembered this old technique from several years ago of how to stamp on candles!  Actually you stamp on tissue paper and then heat and melt it into the candle.  Pretty easy, really.  Here I have taken you through the steps.

Stamp on tissue paper that will fit on the candle….best to cut your tissue paper as close to the stamped image as possible. (I forgot that part!)

Candlestart 

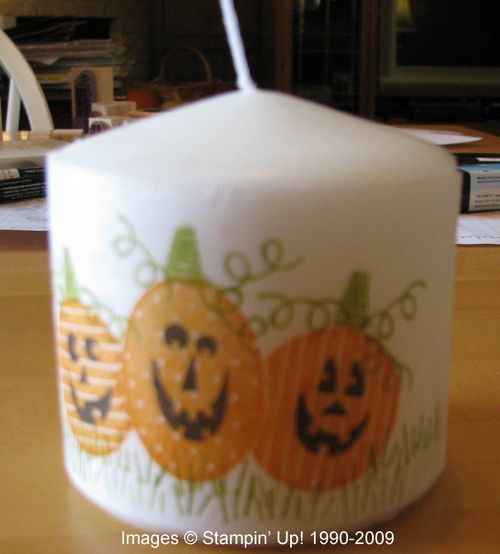
"Stick" the tissue paper onto your candle….I used a bit of glue stick to hold it for these photos.

Candle2 

Wrap a piece of wax paper around the stamped tissue paper, best to have extra in the back to grab and hold to keep your hand away from the heat gun.

Candle3waxp 

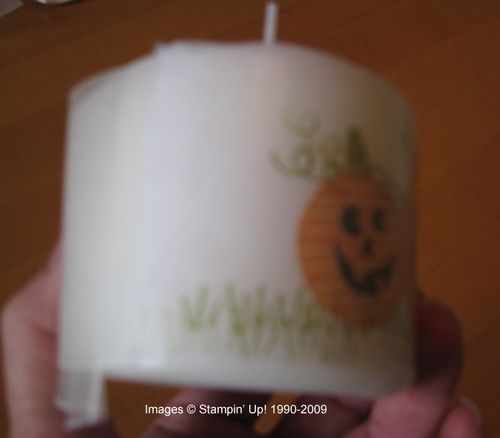
Heat with your Stampin' Up! Heat Tool (a very good quality product…others will konk out sooner) until the wax melts a bit…..you'll be able to see it.

Candle4 

Candle5 

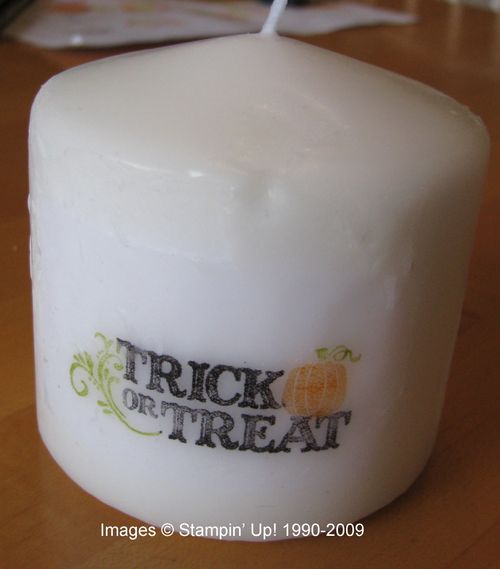
I did the sentiment on the back with a separate piece.

CandleBack 

What a fun project and great gift!  Just think what you could do for the holidays!!

Stamp sets used:  Pumpkin Patch (in the Holiday Mini) and Holiday Best, Level 1 Hostess set

A New Business Opportunity

With the launch of the brand new My Digital Studio, Stampin' Up! has come up with a new way to become a demonstrator!  If you are interested in computers and technology, digital photography, and enjoy crafting in different ways and want to make money incorporating all these things, then the new Digital+ Starter Kit is for you!  You can start your own Stampin' Up! business for just $185.

In your Digital+ Starter Kit, you will receive the My Digital Studio software, two stamp sets, cardstock, ink pads, markers, ribbon, buttons, adhesives and business supplies.  Please click HERE to read all the details about the kit.  There are other links on that web page to give you even more information about being a demonstrator and the kits available.  If you prefer, you can still purchase the standard Starter Kit for just $199.  Either way, I am confident you will enjoy being a part of the Stampin' Up! family.  Please contact me with any questions and I can tell you how to sign up!

Medallion Halloween Card

Here are the Stampin' Up! Deals of the Week, good until Monday, Oct. 26 at 9:50 am MT!  In looking at this list, I think you would enjoy any and all of these embellishments to use on your cards, scrapbook pages, or any projects. 

 Week 3 Deals of the Week

Item

Description

Special Price

114348

Basic Jumbo grommets

$4.49

109857

Mini Library clips

$8.99

112571

Circle Designer brads

$3.99

 112581

 1/2" Library clips

 $3.99


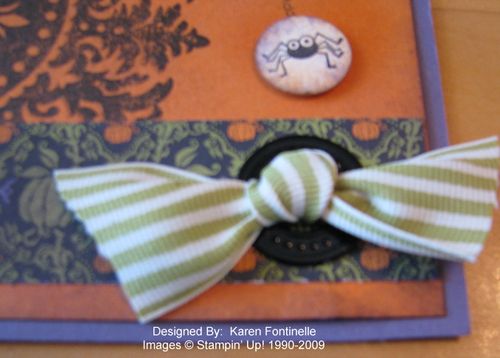
 I decided to make a card showing the Basic Jumbo grommets.  Since I had played around with the "Medallion" stamp this weekend, I was in the mood to use it on this card somehow.  The other stamp set is "Eat, Drink & Be Scary".  The little strip of designer series paper is called "Cast-A-Spell" in the Stampin' Up! Idea Book & Catalog.

HalloweenGrommetCard 

Here's a close-up of the grommet….very easy to use…..just poke it through the paper and fold down the tabs on the other side.  Stick a bow in the center just using some mini glue dots.

Grommet

When you have an order ready to place, be sure to check the Deals of the Week  during the month of October!


Teddy Bear Baby Shower

A few weeks ago I was asked to make some centerpieces for a baby shower.  As I was about to go on vacation, it became a "rush" job, but I knew it would be fun to tackle this project!  Since it was a teddy bear theme, I knew the Stampin' Up! Build-A-Bear would be perfect!

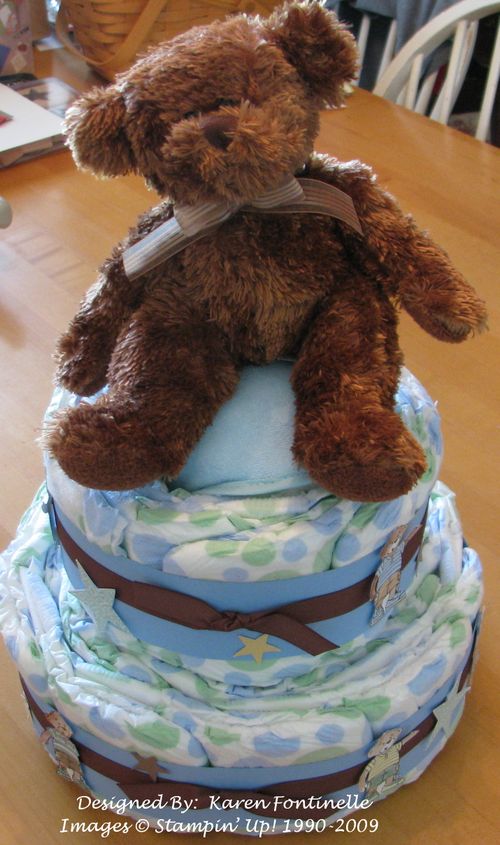
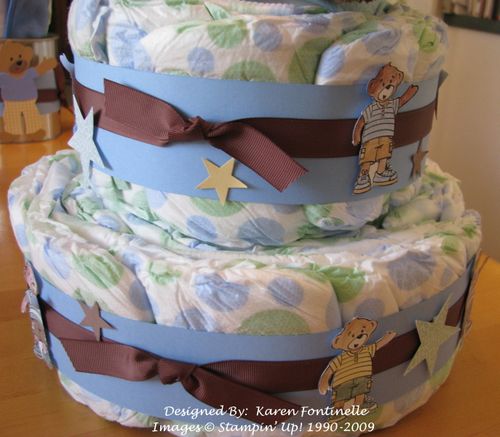
After getting some ideas, I decided to make a "diaper cake" for the main centerpiece.  I suppose there are several ways of making diaper cakes and this was my first, but I just added the diapers sideways around in a circle to make the layers of the cake and then decorated with "Build-A-Bear".  For the cake, I used the boy bear in the stamp set Beary Best Friends and cut him out.  The teddy on top of the cake is smaller than he looks in the photo and just a cute little one I picked up to fit on top of the cake.

TeddyBearDiaperCake 

TeddyBearDiaperCakecloseup 

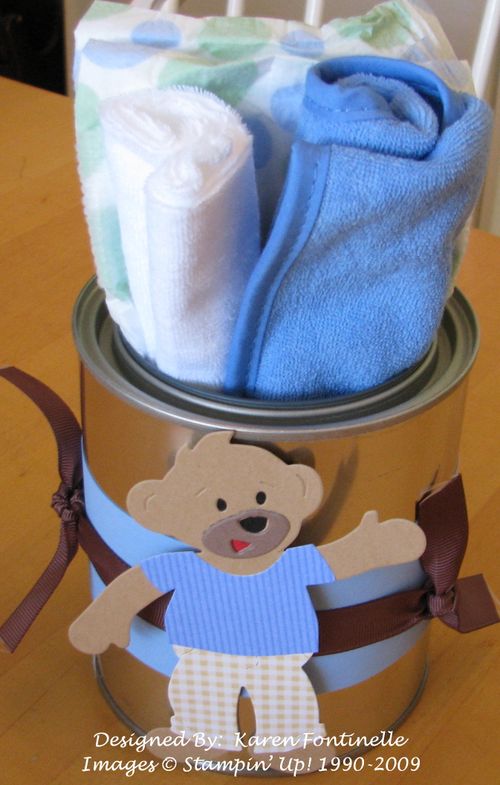
And then for the table centerpieces, I just used new paint cans, filled with a diaper, a bib, and baby wash cloths and decorated with bears from the Stampin' Up! Bear die in the Build-a-Bear Collection.  If I'd had more time I probably would have done them up even a little more, but I think they turned out pretty cute as is.

TeddyBearPaintCan

If you are interested in starting or adding to your Stampin' Up! Build-A-Bear Collection, just email me and I'll help you decide what you'd like to start with!  Of course, you need it all!

Autumn Splendor

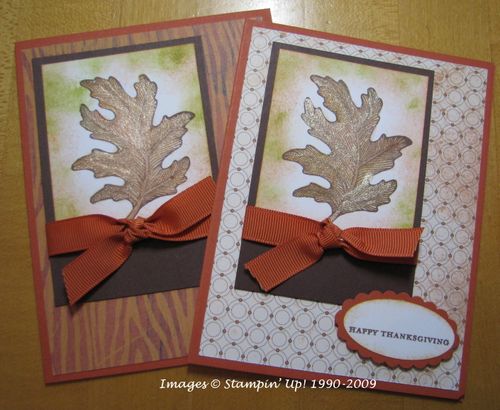
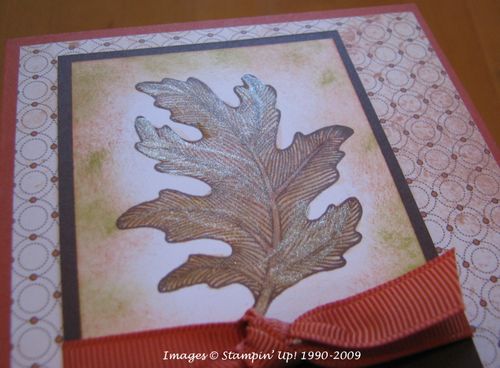
I had purchased this stamp set, Autumn Splendor, in the Stampin' Up! Holiday Mini, thinking about our upcoming (at the time) New England fall foliage trip.  I knew it would make beautiful cards and scrapbook pages with fall colored leaves.  Here is a card I made.  I stamped the leaf with Basic Brown ink so I could watercolor the leaf with my Aquapainter and Watercolor Crayons to give it the fall colors.  Then I painted over the leaf with the new Shimmer Paint in the Holiday Mini (Champagne Mist).  The shimmer kind of covered the colors of the leaf but I think it still turned out well and I hope you can see the shimmer in the photos.  You'll love the new Shimmer Paint!  If you need any suggestions or tips on using it, please email me.

LeafShimmerCard 

LeafShimmerPaint

The card base is made with Dusty Durango card stock and the Designer Paper layer is Autumn Meadows from the Holiday Mini.  Those are actually the two sides of the paper you see in the photo!  The ribbon is Dusty Durango polka dot turned around so you just see the solid side.  And for a greeting I used Teeny Tiny Wishes punched out with the Oval Punch and layered on the Scallop Oval Punch.  You'll notice the leaf layer is sponged on the side, which I do think adds a lot….but just so you know, I decided to do the sponging after somehow getting extra ink from my fingers on the edges of the card.  See!  There are no mistakes in stamping!  You can probably click on the photos to see them enlarged.

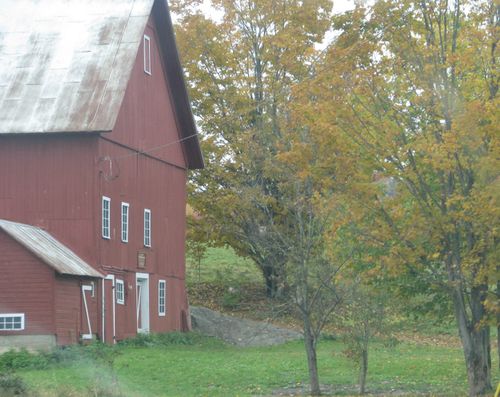
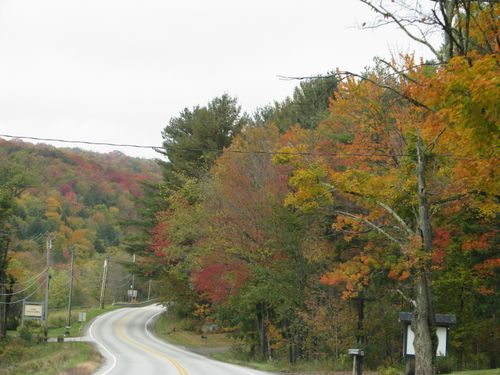
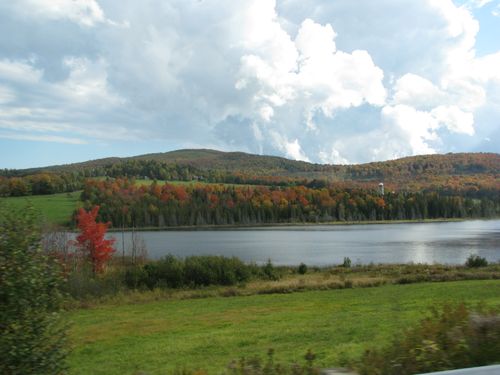
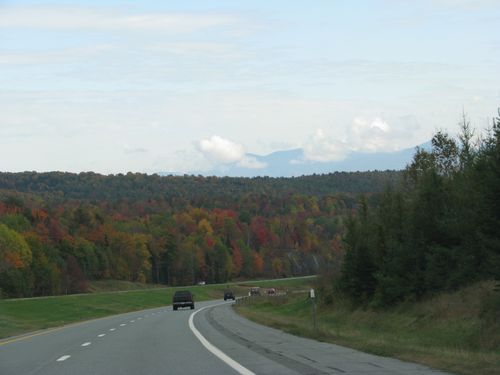
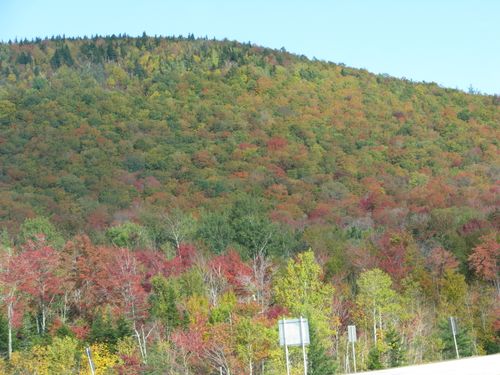
Here are some more photos from our trip!

IMG_6526 

IMG_6538

IMG_6541

IMG_6598

IMG_6604 

IMG_6606

IMG_6618

IMG_6627

IMG_6630 

Wouldn't you love to stamp some colored leaves??!


Halloween Decor Element….Toil and Trouble

ToilandTroubleDixie 

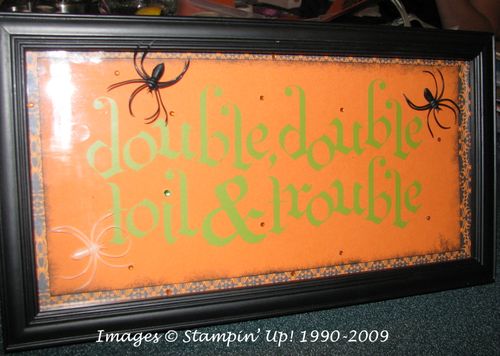
Isn't this the CUTEST Halloween frame???!!!!!  If you were thinking Stampin' Up!'s Decor Elements were for walls only, think again!  My demo friend Dixie and her friend Gerrie got together to make these the other day for a play day! Don't we all need to just stop and play once in awhile?  They used the Old Olive "Toil and Trouble" Decor Element in the Definitely Decorative catalog on page 7 in this frame and decorated with "Cast-A-Spell" Designer Series Paper around the edges, a little sponging with black ink, some other little stick on "jewels" and some "real" plastic spiders!  It is SO CUTE, I wish you could see it in person!  (sorry for the glare from my flash)

You can order these Stampin' Up! items and any other Halloween or fall products tonight in your pajamas at my online store and have them in time for Halloween!

And if you are interested in "My Digital Studio" there are some new Halloween downloads available today!

Item # Product Name Price
118114    Cast A Spell Designer Series paper – digital download  $4.95
118115    Night & Day Designer Series paper – digital download  $4.95
118124    Medallion stamp brush set – digital download   $1.95
118126    Circle Circus stamp brush set – digital download   $5.95
118116    School Days II stamp brush set – digital download  $9.95
118121    Great Moments II stamp brush set – digital download  $9.95
118122    Pumpkin Patch stamp brush set – digital download  $5.95