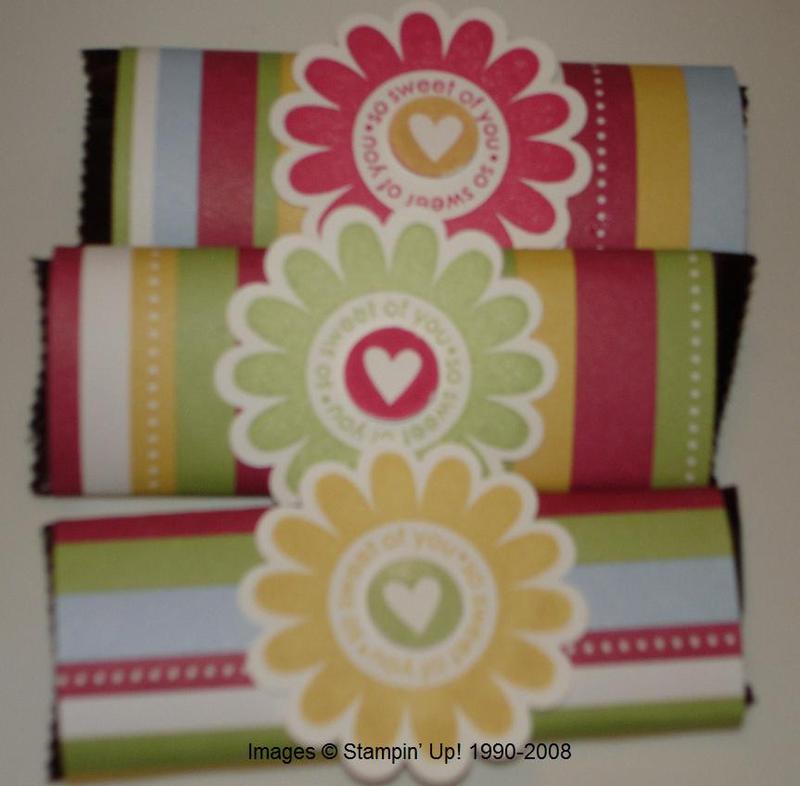
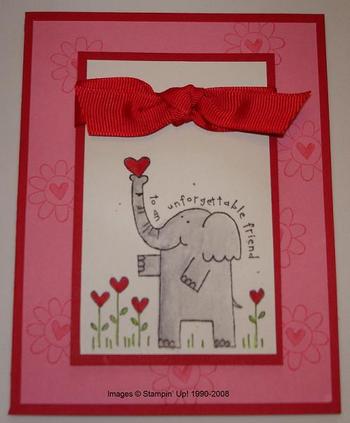
Here are the little party favors I made for everyone at my recent Valentine Stamp Camp. I saw an idea of covering a candy bar with designer paper but the tag designed for that one was for a regular size candy bar….so I was actually forced to come up with my own idea to use with the Snack size chocolate bar! What’s not to love about this Cutie Pie Designer Paper?! I just cut a piece to fit around my candy bar and adhered it with the Tombow Multi Liquid Glue. I had to hold the paper together for just a second or two until it would stick, but I really do love this adhesive! Next, for a decoration on the candy bar I decided to use the new Sale-A-Bration set "So Many Scallops" which works perfectly with the Scallop Circle Punch. I added a little stamp from Little Pieces and popped up with a dimensional in the center. I really suggest you add a bottle of the Tombow Multi to your next order and try it out!
Monthly Archives: January 2008
Chocolate Book
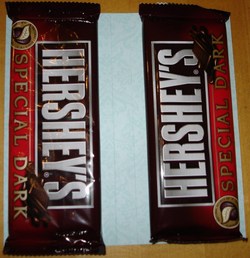
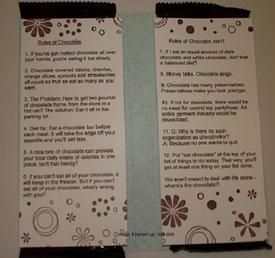
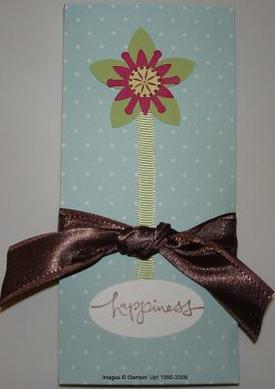
For a little doorprize for my Valentine Stamp Camp I made this "Chocolate Book". Not sure whose original idea it was but someone on SCS, pinknbluemom, posted the directions of one she had made in a group. All you need are two regular size Hershey Bars (I used the Special Dark. Yum!) and a 6×6 piece of Stampin’ Up! Double sided Designer Paper. I used the Soft Sky Prints Designer Paper. Adhere the candy bars to the paper, one on each side, with mini glue dots. You can just fold the paper over at this point, but I found that I liked it scored first, two lines in the middle, 2.75" from each end. Print out and adhere the "Rules of Chocolate" to each candy bar. I wheeled a little design top and bottom first with the Petals Jumbo Wheel. The front of the "book" is just decorated with a flower made with the 5-Petal Flower Punch, the Snow Blossom Punch and the little flower center is stamped with Little Pieces and punched out with the 1/2" circle punch. You can see all the punches here. The word is from Warm Words and punched out with the oval punch. The ribbon tying the book closed is the gorgeous Chocolate Chip Satin Ribbon available on the Theater Ribbon Originals. It was a fun project to make!
More Fun with Rub ons!
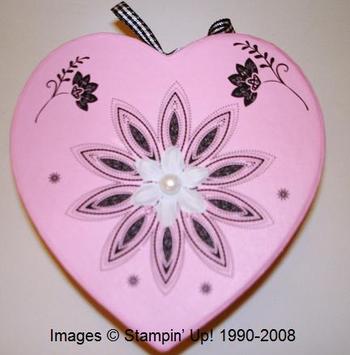
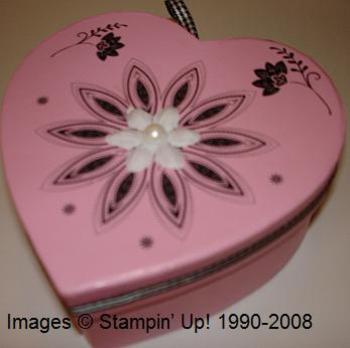
The other day I discovered this heart-shaped box in my pile of stuff! Immediately, I thought of using the Stampin’ Up! Rub Ons on the box and see what I could do. The heart box is probably from the Target Dollar Spot last year or else one of the dollar stores.
I used the Eastern Elegance Rub Ons and adhered some black gingham ribbon around the lid of the box. It still needed a little something so I stuck on a white flower from the Pretties Kit plus a half-pearl in the center. I found the rub ons to be fun and easy to use. You will want to try them also! See how many fun things you can find to apply them to around your house…or in your craft stash!
A Happy Valentine!
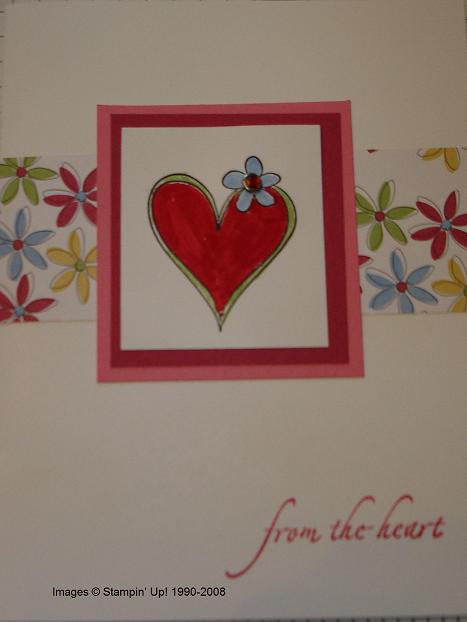
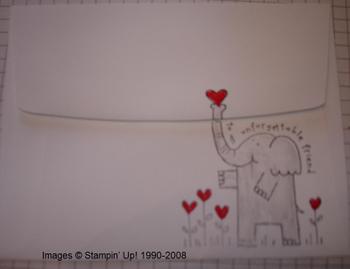
At my Valentine stamp camp on Sunday, one of my customers did a slight alteration of the card we were making. She just turned over the Cutie Pie Designer Paper to the other side from my sample, and then colored in the heart (from Time Well Spent) in colors to match! I think it gives it such a happy, whimsical look! Great job, Linda! You can see my original card here. But she didn’t stop there! She also stamped a very cute envelope! I love how the trunk goes up onto the flap.
Happy Heart Day Valentine
Proud to be with Stampin’ Up!®
Is this a great company or what?! Shelli Gardner, CEO and founder of Stampin’ Up! has donated 85 cabins to Utah National Guard members for a 7-day cruise to Bermuda to thank them for their service. They will be joining Stampin’ Up! demonstrators who have earned the annual cruise….which, in my opinion, is an extra bonus for the National Guard!
Read all about it here: Local News Story
My First Rub On!
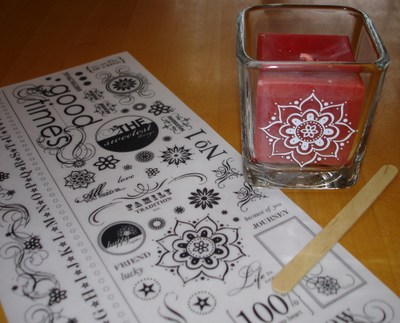 I finally just stopped everything today and decided to try using Stampin’ Up!’s new Rub Ons in the new Spring~Summer Collection 2008, our beautiful new catalog! I ventured into my closet of craft stuff and found this glass votive holder. Rub ons are really great to use on glass, ceramic, and all sorts of things, not to mention cards and scrapbook pages. This design came from the package called "Urban West". In each package of rub ons, you receive one sheet of white and one of black. It is recommended that you cut out the rub on you want to use, place it on whatever it is you are decorating, rub it down with your finger to make it stick in place, then use the included wooden stick to rub the rub on until it transfers. Mine worked very easily and I was happy with how it turned out! There are so many designs to use with each package of rub ons you are sure to find whatever it is you need for your project! The only hard part is deciding which set of rub ons to buy!
A Valentine
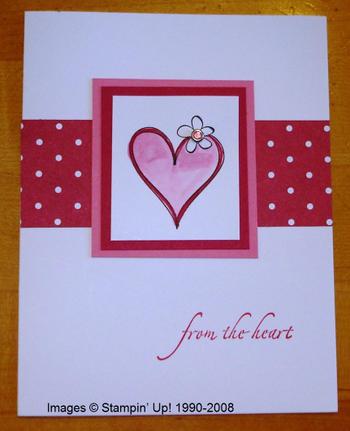
Since I hadn’t yet received my new order with the Valentine Bundle, I decided to try to make a valentine with another set. I chose Time Well Spent, a Level 3 Hostess set in the Spring~Summer Collection 2008, plus Holidays and Wishes for the words. After running through many ideas in my head and nothing seeming quite right, I decided on "simple". I used Black Stazon Ink to stamp the heart and watercolored with the Watercolor Wonder Crayons and Aquapainter. That’s pretty much my favorite way to color in these days….except for maybe the Stampin’ Write Markers, which I use quite often. I added a little strip of Cutie Pie Designer Series Paper under the layers of Regal Rose and Rose Red cardstock. And for an extra-special touch for the heart I added a pink Fire Rhinestone Circle Brad.
Tabletop Paper Cutter
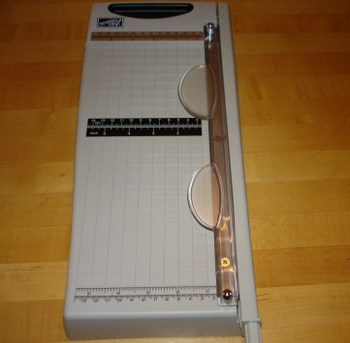 This paper cutter has been out awhile now, and I have heard rave reviews! Therefore, I decided to include it on my most recent order to try it out! Underneath the cutter is a handle for the cutting lever and also an extension for the left side for measuring. The clear piece you see on the right is to press down and hold your paper in place as you cut. It cuts precisely and without the fraying we sometimes see with our high quality Whisper White cardstock. And it can cut just slivers of cardstock with ease. It is safe and will not cut fingers, as others have attested! I’ve just cut some scraps so far but I’m anxious to work more with this wonderful tool.
Spring~Summer Collection 2008 New Stuff!!
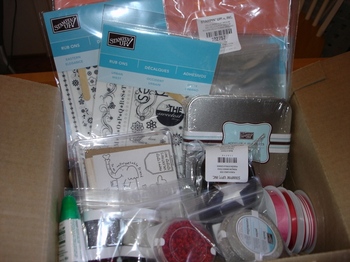
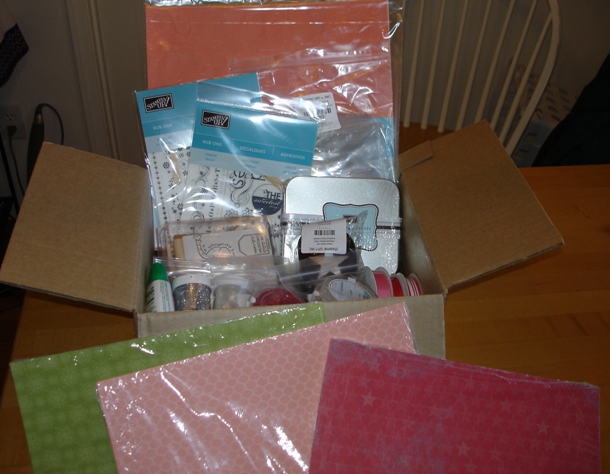 The new Stampin’ Up!® Spring~Summer Collection 2008 catalog is here!! Check it out because it is beautiful! Contact me if you want your own copy! As soon as ordering was available I decided to order some of the new accessories and Designer Series Paper to show everyone. What can be better than the UPS man bringing a big Stampin’ Up! box filled with new goodies! I haven’t had time to try anything out yet, but it is still fun just to look at all the new things!
Rub Ons, Striped Ribbon, Valentine Bundle, Tombow Multi Purpose Adhesive (I’ve heard great things about this adhesive! Can’t wait to try it!), Beads, Flower Fusion (felt flowers, in the tin), Large Star Punch, Stampin’ Glitter-Chunky Essentials, and new Designer Series Paper, Sticky Cuts Letters to use with the beads and glitter.
So many fun things to try! Maybe I should get off the computer and go stamp!

