Monthly Archives: March 2007

Baby Scrapbook

Here are some pages from a 6×6 Baby album I made.  These are fun and easy to do.  Just cut your 12×12 cardstock in half and then half again and you have four pages ready to go.  Use Designer paper for easy embellishment and design.  You can make these as simple or as embellished as you would like.
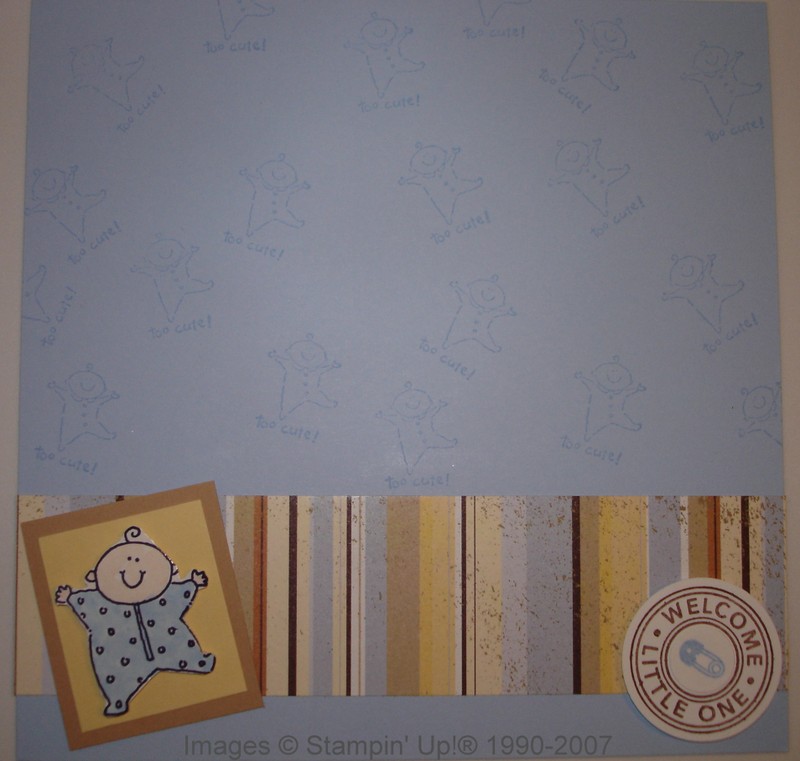
Baby_sbp1_2 This page used Baby Firsts and Riveting and a strip of Designer paper.
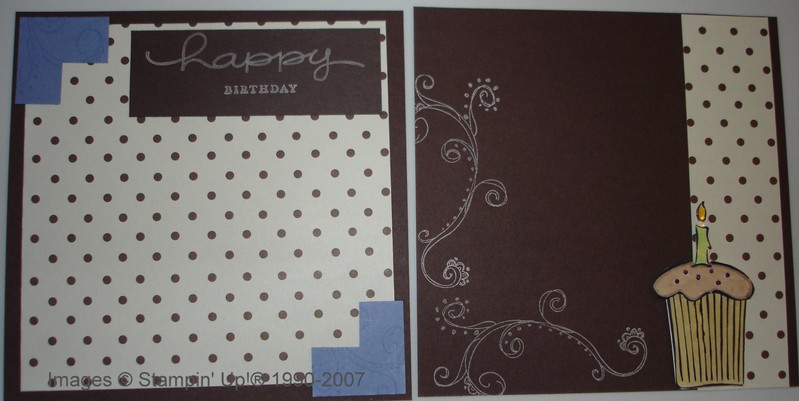
Sb_bd_choc_5On this page I used the beautiful Au Chocolat Designer paper in the Spring Mini, the Treat Yourself stamp set for the cupcake for a first birthday, and of course Doodle This.
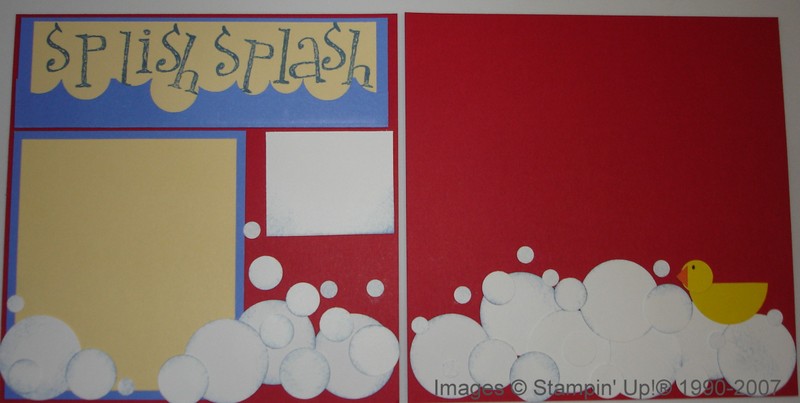
Baby_sb_bath_4 The first page of the layout was featured on the demo part of the Stampin’ Up!(R) website the very day I was ready to make this page.  It was designed by Lindsey Blackhurst.  I used a different alphabet and made some minor changes and then made the second page to match.  The bubbles were so fun to make with various Circle punches and then sponged a little on the edge with blue ink to look like water.  The rubber duckie I also made from punches!  I’m really into punches these days!

And here is the cover of the album.  IBaby_sb_cover tied some ribbon around the
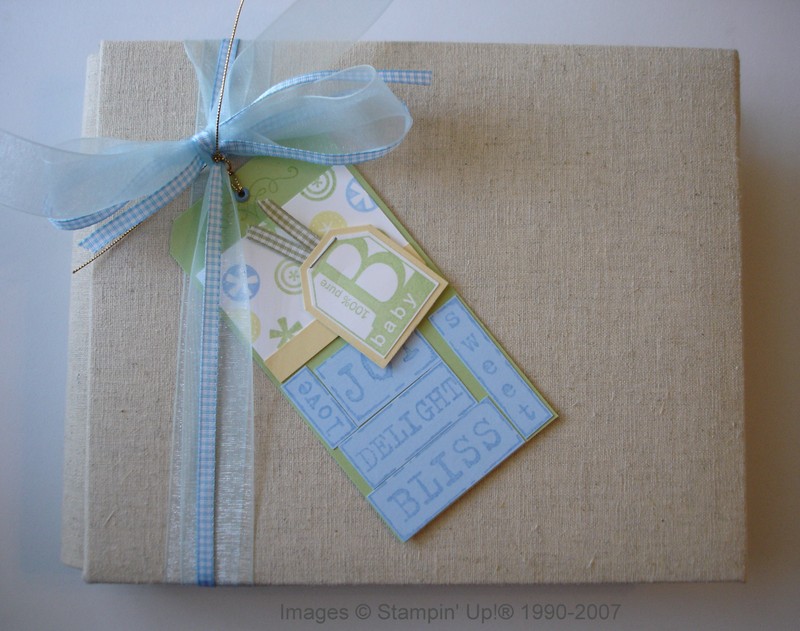
cover.  The tag was inspired by a card on SCS by bonniejean.  I stamped the Word by Word background stamp but cut out the words I wanted to use and adhered them to the tag.  Usually I use a Metal Edge tag for an embellishment on my albums.

Baby Shower Nugget Box

Baby_nugget_box_insideAren’t these the cutest little favors?!  A customer asked me to make something for a baby shower and this is what I did.  Of course I did some “research” on Splitcoaststampers and loved this outer design by cwasags.  The baby is from Tag Time.  You could use the Metal Edge tags, but I just used the two Circle Punches.  The dots on my box cover are from Polka Dots & Paisley.  I crimped the little band of cardstock and tied the tag on with some Silver Cord.  The candies inside are Hershey Nuggets wrapped with address labels.  I brayered the labels with the shower colors and then stamped with Baby Firsts.  The nugget box is easy to make and can be adjusted for various sizes.  Email me if you want to learn how.

Party Pails

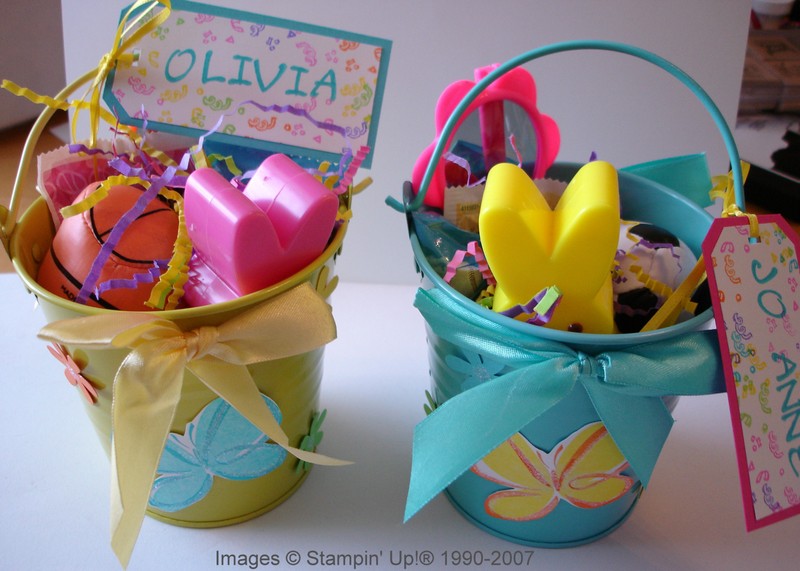
Target_pailsI was asked to make some party favors for little two-and three-year olds.  These cute little tin pails were in the Dollar Spot at Target, complete with ribbon, so I thought I might be able to do something with them.  I decided to stamp Bold Butterfly, cut out, sprinkle with some Dazzling Diamonds glitter around the edges and adhere to the bucket.  For a little extra decoration, I punched out some flowers and put a dab of glitter in the centers and stuck those on, too.  The pails are filled with a little candy, some "Peeps" bubbles, sunglasses, and little soft balls.  I think they turned out pretty cute! 

Target_pail_bear


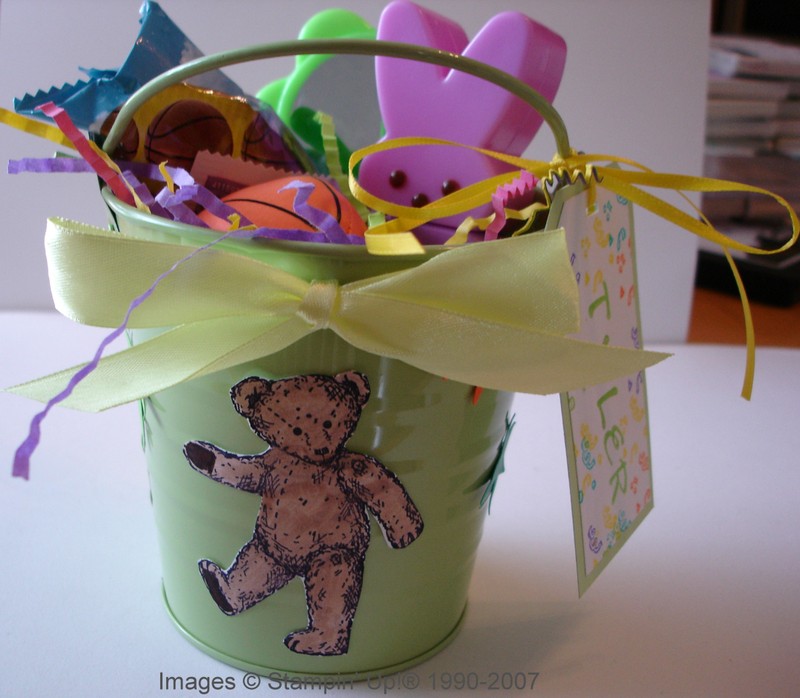
For the boys, I stamped the teddy bear from My Favorite Teddy Bear and then added extra decorations just with punched stars of various colors.


Little Purse Gift Box

Purse_box_kristine_bd2sm_3 When I attended the Houston Regional, one demonstration was about making a purse like this.  I used the “Purse Boxes and Tags” kit so it is easy to just punch out the purse die cut and create!  I traced the flap of the purse onto a piece of the Petals and Paisley Designer Paper and cut out and used Glue Stick to adhere this designer paper to the flap.  I did a little stamping on my purse with Fresh Fillers and used some retired silver ribbon for the handle.  At the Regional demonstration, she used Versamark, Heat & Stick Powder, and Silver Glitter to make the faux-metal decorations from the little die-cut circles on the purse sheet…but since I couldn’t find my new Silver Glitter, I used Versamark and Silver Embossing Powder to get a similar look.  I also did the clasp on the purse the same way and used a brad from the inside to close the purse and a Soft Subtle pink brad to attach the clasp.  Use a little Sticky Strip to adhere the purse and there you have a cute little gift box!  I put a hair bow in this one and sent it to my niece for her birthday.  I hope she enjoyed it!  These are fun and easy to make!

Unsticking Sticky Strip

Here is an idea to keep in mind in case you need to “unstick” something!  I was working on a project and attaching a band around the middle with Sticky Strip.  The band did not meet up properly on the other side, but since Sticky Strip adheres so well for this type of project it was very difficult to try to “unattach”.  I tried anyway and got some torn paper, but mostly, the band was not laying flat.  I might have been able to cover up my mistakes with flowers and ribbon, but overall I just thought it was a mess!  I got out my Stampin’ Up!(R) Heat Tool and held it on the mismatched area for a short time.  That heated up the adhesive just enough that I was able to pull the paper back, straighten things out, reapply a few pieces of Sticky Strip, and adhere my band of cardstock to lay properly and match up with the other side!

Bunny Nuggets

Nugget_bunnies2_1


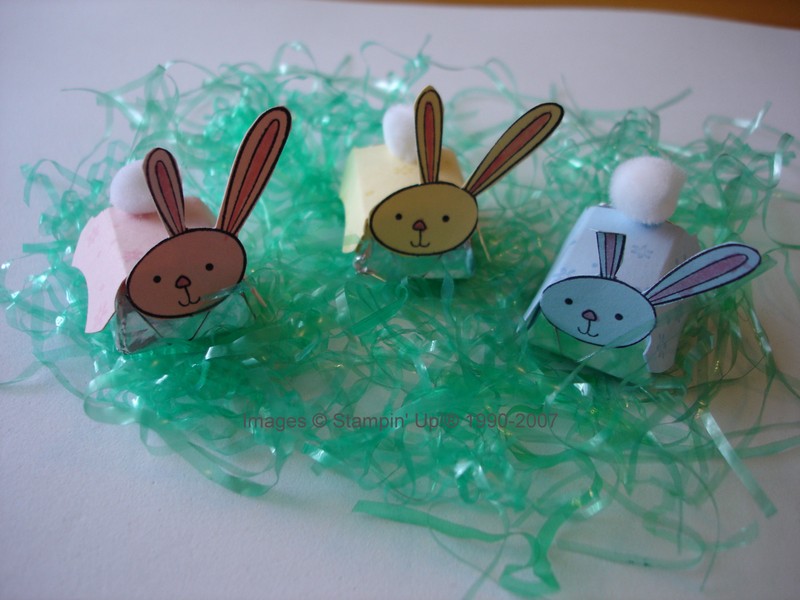
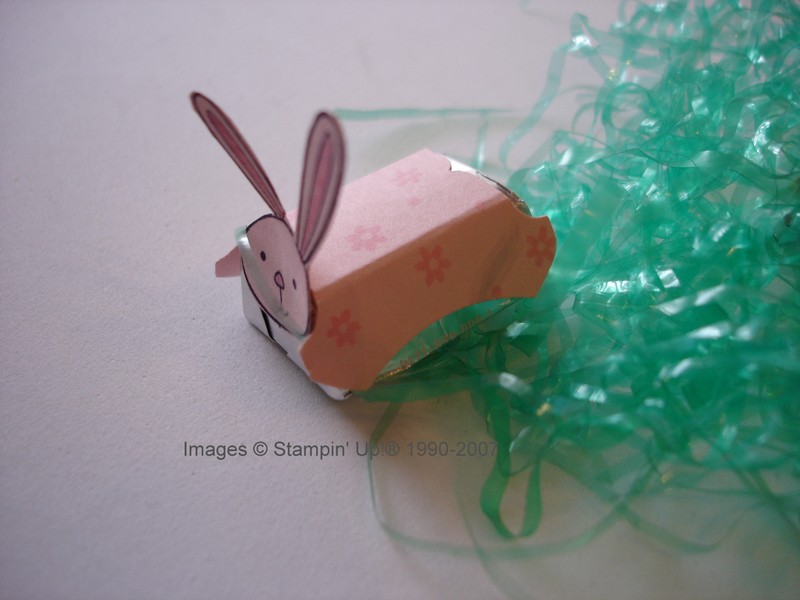
Aren’t these the cutest little things?!!  They are Hershey Nuggets made into bunnies!  Another Demo, Brenda Quintana, came up with the design of these bunnies using the Round Tab Punch to make the body.  Punch a piece of cardstock then insert the punched piece slightly back into the punch to clip the arc for the sides to make the bunny legs.  Stamp a little design (I used Fresh Fillers) on the cardstock and attach to the nugget with Sticky Strip.  Stamp the same color cardstock with the Bunny Hugs face, cut out and attach to nugget after coloring in the ears and nose.  Adhere a little white pom pom on the back for the tail.

If you don’t have the Round Tab Punch, another way to decorate nuggets is to use the plain address labels, stamp a small design and wrap around the nugget.  You will get nearly the same look.  I just loved these!

Bunny_nugget3


Here is one from the side without his cottontail!